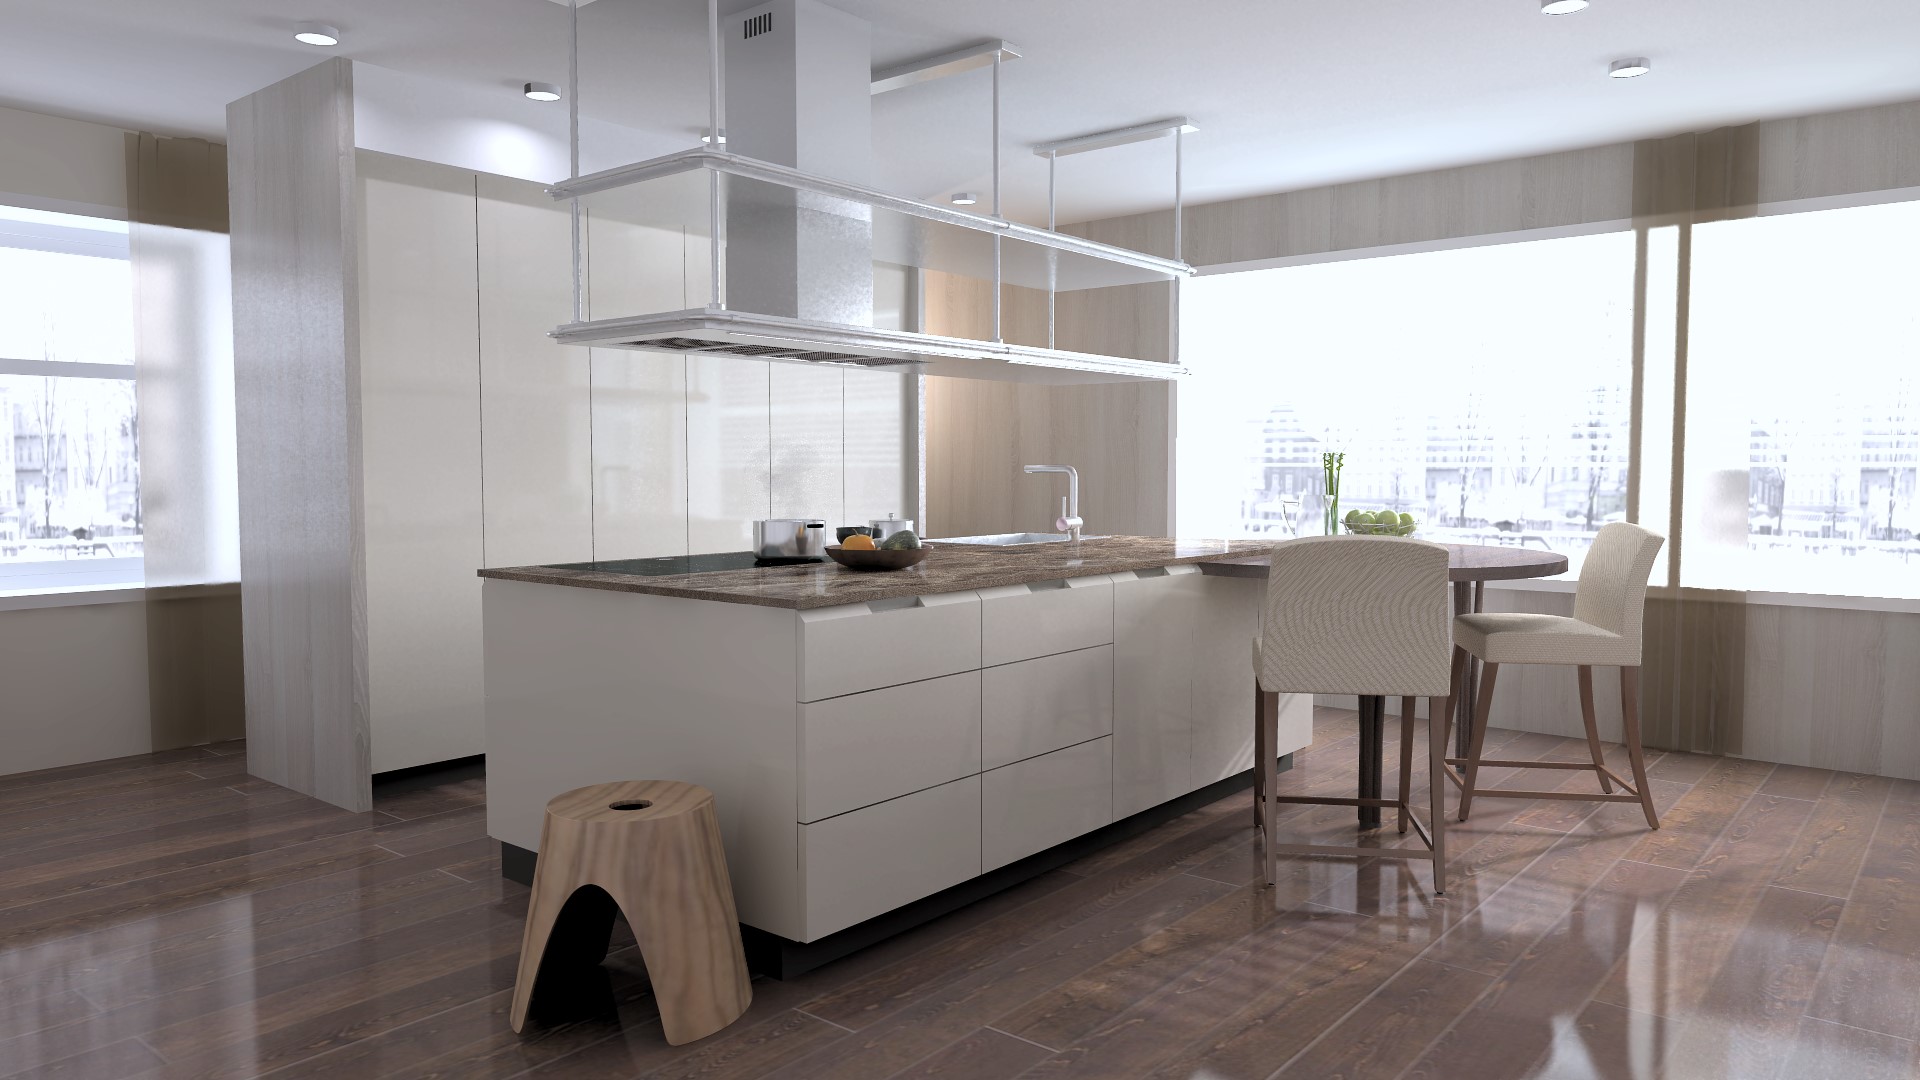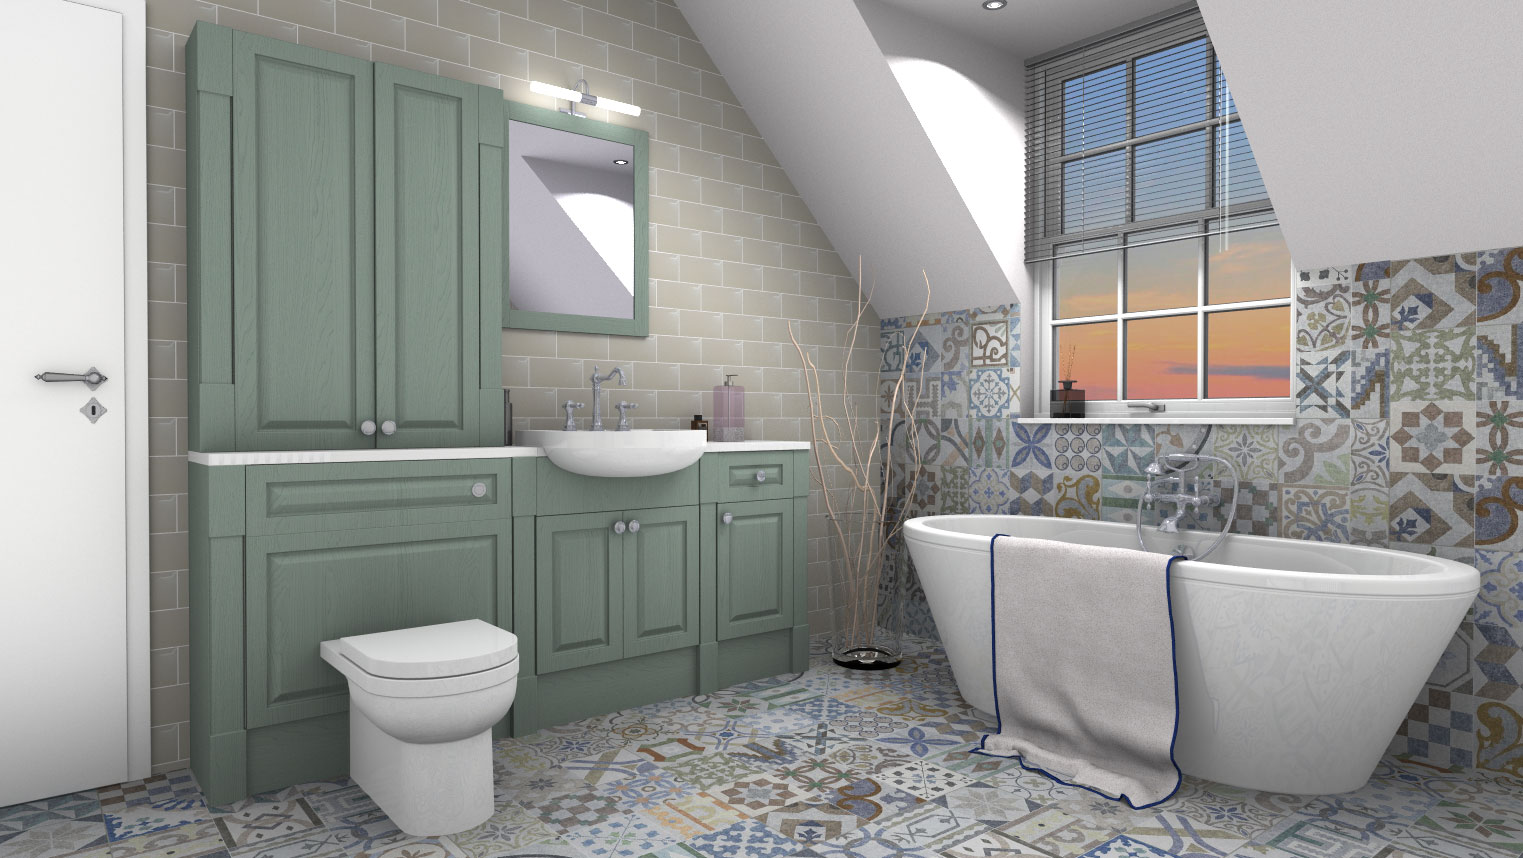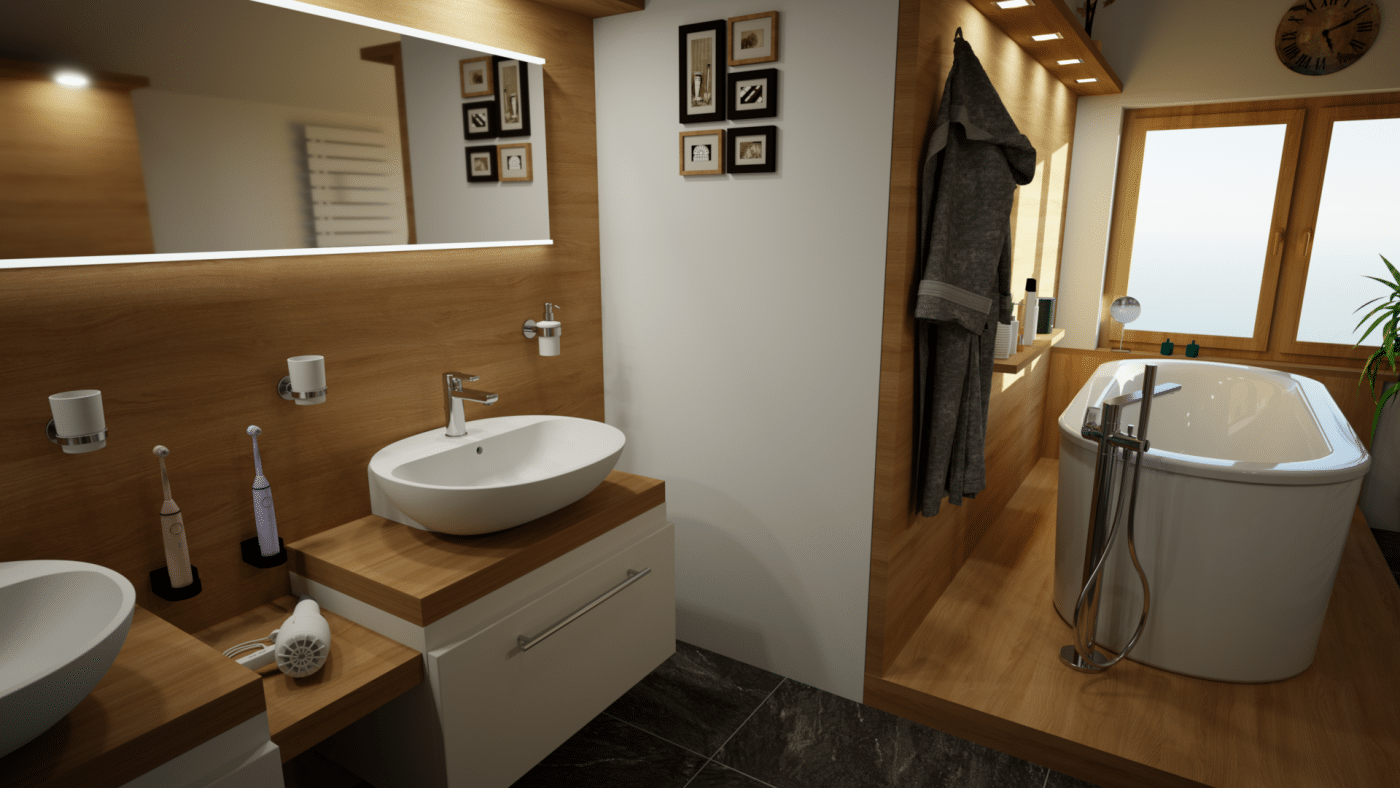
Since users have been drawing fitting pieces to achieve different patterned floor areas, which probably collided with units later, we decided to give an advanced insight in how easy it actually is to work with décor areas in Winner Design.
Tip 1: How to draw your own décor areas
First, you will need to be in the room definition mode to use the following features. The décor area tool can only be used in the elevation window.
To set the floor as the view in the elevation window we need to click on the floor in the perspective window. The elevation will change to a 2D view of the floor. When working in the elevation the “draw décor area” button will be activated:

When the button is clicked the “draw rectangle” tool is automatically selected, click once in the elevation window where you would like your décor area to begin. You will be shown a blue square, this is the start point. To create the area hold down the left mouse key and drag to start drawing a grid on the floor.
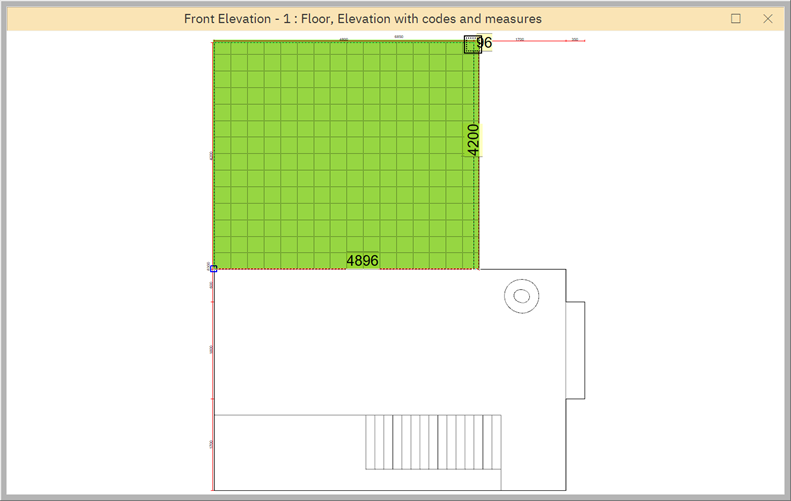
If however you would prefer to draw the area line by line, after clicking the draw décor area-function you can change from the draw rectangle to draw edge by clicking the first pencil icon or simply by pressing “Q” on your keyboard to change to the Draw tool.

Then you can split the as floor freely as you would like:
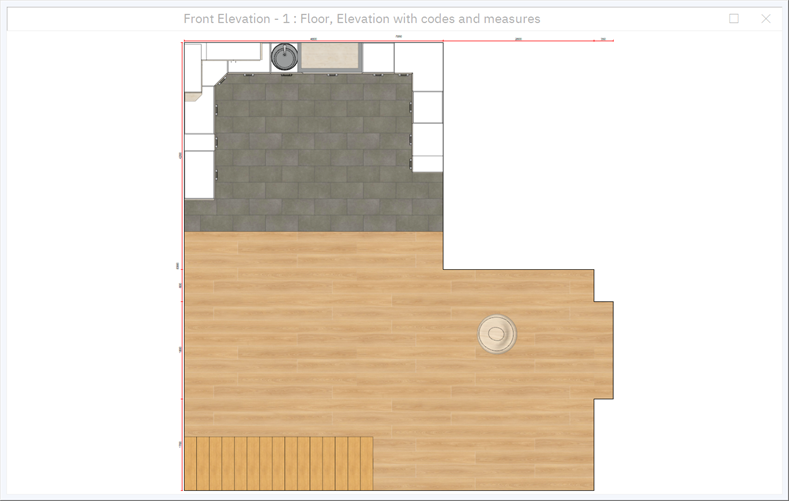
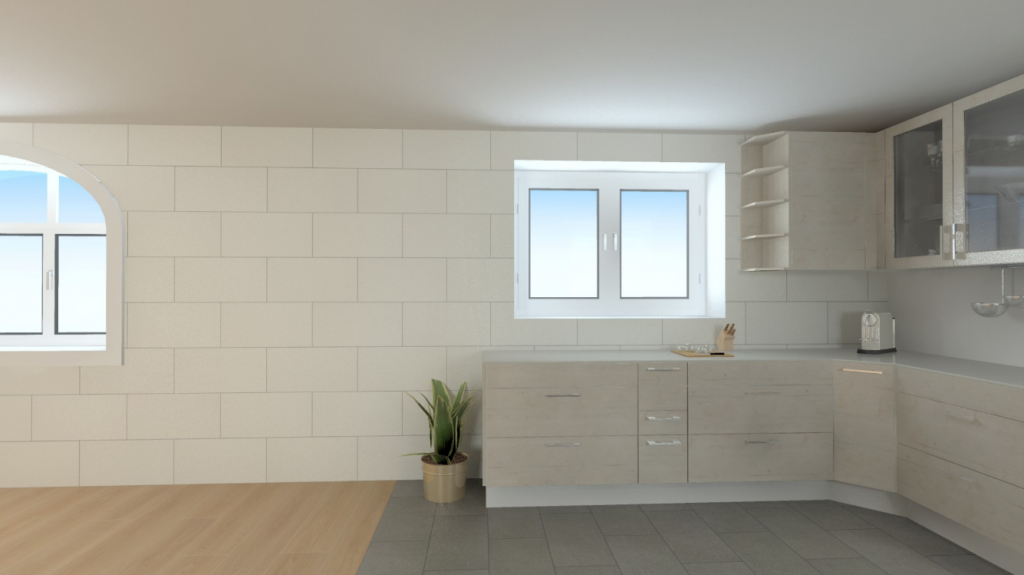
This brings up a lot of new ways to design all parts of the room individually:
Once the area is drawn, the wall or floor décor style can be defined by choosing a different level in the bottom right corner next to the elevation. By default, number is gets assigned:
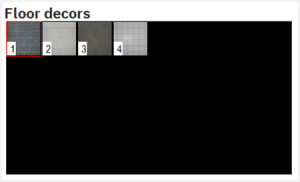
Hint: For walls it is possible to create up to 8 décor style templates and 4 separately for each floor or ceiling.
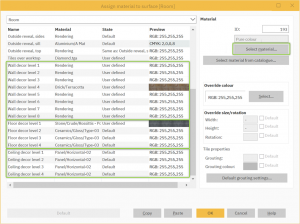
To assign different materials to these templates you can enter the Edit colour settings for room and objects area by clicking  or F9 on the keyboard when no item or surface is selected:
Tip 2: Patterning the room
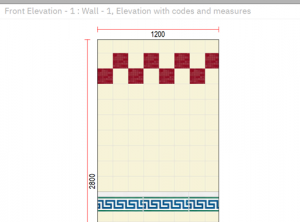
Using the different templates from tip 1 is also very useful for drawing décor areas with ornaments when for example every second tile needs to be in another style or a patterned border is desired:
Every décor area can be selected by using the Select tool  . With this function it is possible to move the area when the cursor turns into
  or to enlarge the area when the cursor turns into
  .
.
Hint: Every décor area has a snapping point on each outside line, one per edge and one in the middle to use the functions mentioned above.
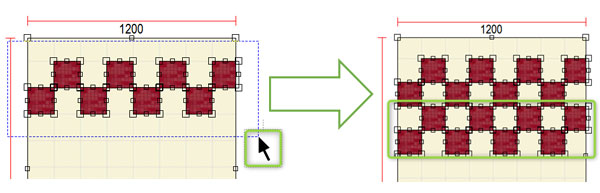
When patterning, it is not necessary to draw every single tile anew. By marking a few of them it is possible to move many areas at once and to use the common shortcuts CTRL+C to copy and CTRL+V to insert a few tiles again:
By choosing a specific décor using the Select tool and then right-clicking on it in the elevation view you can enter the Room surface décor properties. Here it is possible to define the tile cutting policy, which means if not all tiles can be shown on a wall or floor completely, on which side the tile should get cut, i.e.:
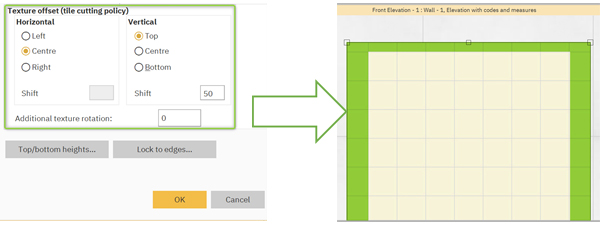
When clicking further into Lock to edges… with the button below the tile cutting policy it is possible to define to which edge a drawn décor should be locked:
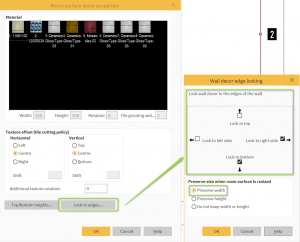
The setting above would, for example, mean that this drawn décor is bound to the right and bottom edge and the width should be preserved. If the wall now gets adjusted (lengthened), the tiles will stay locked at the right side:
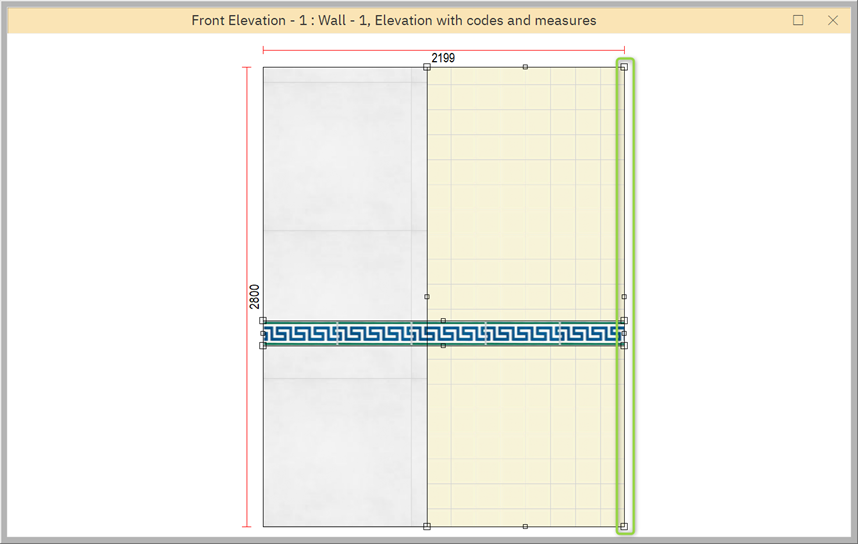
If the option Do not keep width or height would be used, the décor would be adjusted at the same rate that the wall is adjusted.
Tip 3: Saving the décor style templates in the room palette
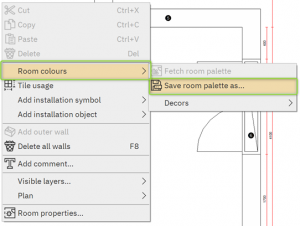
Of course, it is also possible to save the previously defined décor style templates for future alternatives. To achieve this right-click into the plan view and choose Room colours > Save room palette as…:
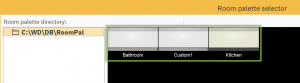
After naming the template it will be available for all future alternatives using Fetch room palette also via Room colours in the plan view to get to the following Room palette selector to choose from:
Hint: In these templates, the Room surface décor properties of the materials chosen in Tip 2 also get saved and are valid in new alternatives directly.
Tip 4: Room surface material usage
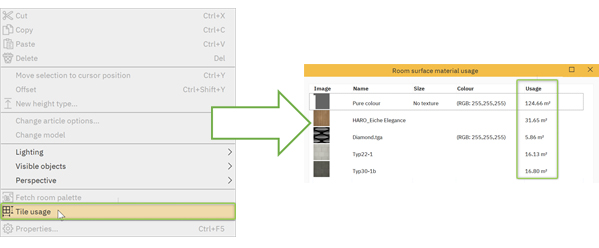
Additionally, it is possible to always know the planned square meterage of the different tile or material types using the Room surface material usage screen. To get there you simply do a right-click on the floor in plan view and choose tile usage:
Tip 5: Usage of invisible material #3003.
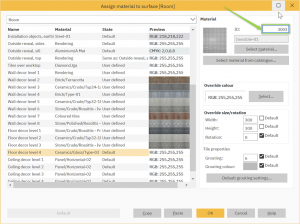
The invisible material #3003 can be used easily by entering the ID 3003 directly on the top right corner of the Edit colour settings for room and objects area:
It can be used in many ways. For the following it has been drawn as a small décor area on the floor using the previous Tip 1 and then assigned the invisible material #3003 to it:
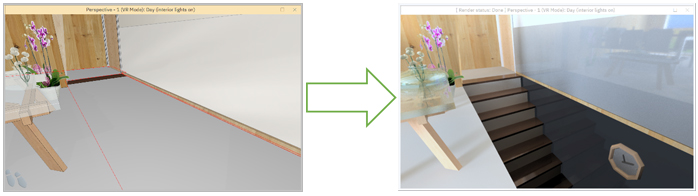
This part of the floor is now invisible and the stairs put under the floor appear. To achieve that all that is needed is to position the stairs at 0 using the height type Special height(Down). This positioning of course can be used for many objects, for example, interior walls.